By Heather
The Xero DIY Sandal kit is the most affordable barefoot sandal you will find in the US, for kids and adults. And you can customize them to your foot shape and fit preferences! In this Xero Shoes DIY Sandal review, I share my experience with these $17-$34 barefoot sandals on my three kids’ feet.
Xero Shoes DIY Sandal Review
Hey, Peeps! Heather Savage here. I’ve suffered from bunions for over half of my life on earth. Shoes were always too narrow for me and I just thought that that’s how my life was going to be for the rest of forever. Well then I discovered the world of barefoot shoes – that there was something better for my life, for my family’s life. Fast-forward to today and I have a deep passion to offer my family a pain-free life and a different perspective from what’s simply mainstream. The catch was that I had to get us there on a BUDGET. We’re a family of 5 (plus a dog), so buying my whole family healthier shoes all at once wasn’t something I thought feasible. Enter Xero shoes!
Xero Shoes is a pretty well known barefoot shoe company. They offer a wide array of shoe options for all seasons and continue to keep many of their shoes under $100, which makes them a great place to start if you’re new to the world of healthy shoe options! The most affordable options from Xero Shoes are their two DIY Sandal Kits, starting at just $17.96 for the smallest kits. These kits were a life-saver for my family. I was able to get all three kiddos in healthy shoes this summer with no financial stress. Let’s dive in!
Xero DIY FeelTrue Sandal Kit
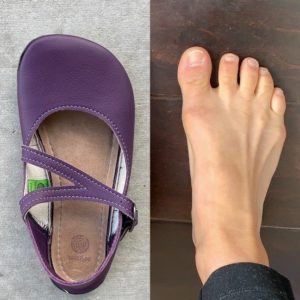
The Xero DIY FeelTrue sandal kits come with pre-cut FeelTrue soles with two pre-punched holes in the side, laces, and a hole punch. You can choose from over 20 lace color options, and several different colored soles (when available, sole colors go in and out of stock). There are also add-on options like heel straps and toe posts, which we used on our sandals, but they aren’t necessary. In fact for little feet, I would recommend just using laces.
The sizes for their FeelTrue sandal kit start at just 17cm (roughly a US kids 10/EU 27) and go up to 32.2cm (roughly a men’s US 16/EU 49) and come with either a 4mm or 6mm sole. If you need help choosing a sole, check out their video here! The FeelTrue soles come pre-cut, but you can trim them to match your particular foot type.
When ordering, simply measure your feet according to these directions and choose the size that is as long or slightly longer than your feet. I intentionally ordered a size too large for my oldest son so that I could trim it to his exact foot shape.
Xero DIY Classic Sandal Kit
Another options from Xero Shoes is the Classic DIY Sandal Kit. This one comes as a rectangular piece of 4mm Vibram Cherry sole that you cut from scratch. The dimension options are 7 x 9″, 9 x 11″, and 11 x 12″. So measuring your feet will be necessary to pick a size here too. And toe posts and heel strap accessories also work with this kit.
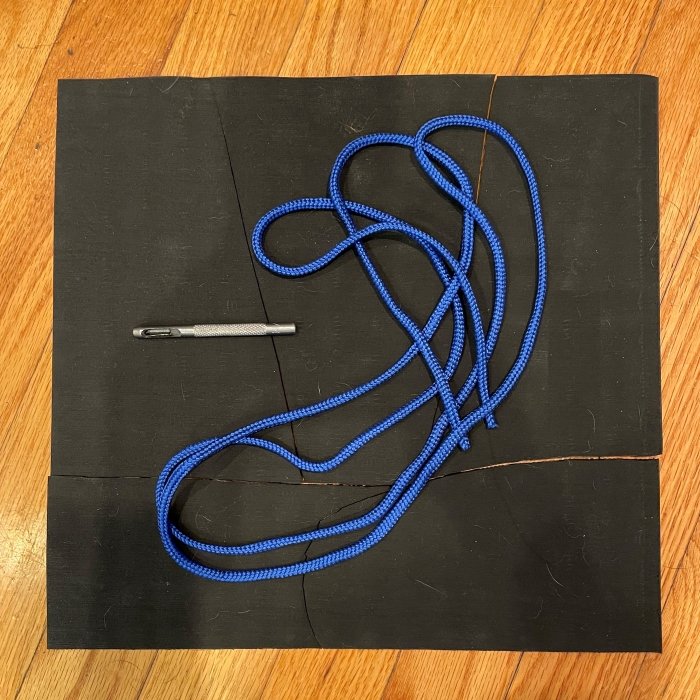
There are two different lace style options you can buy: regular and reflective. If you want a single lace woven throughout the whole sandal, then their regular lace will work just fine. If you want to use their heel strap add-on, however, I would suggest paying the extra $1 for the reflective laces as they are more durable and stay put better. In hindsight, this is what I wish I had ordered instead of the regular.
When ordering for an adult, use the same method as for the FeelTrue kit. Measure your feet, then choose the size that is slightly longer than your feet! For small sizes, you may be able to cut multiple sandals out of one kit.
One Kit, Multiple Kids

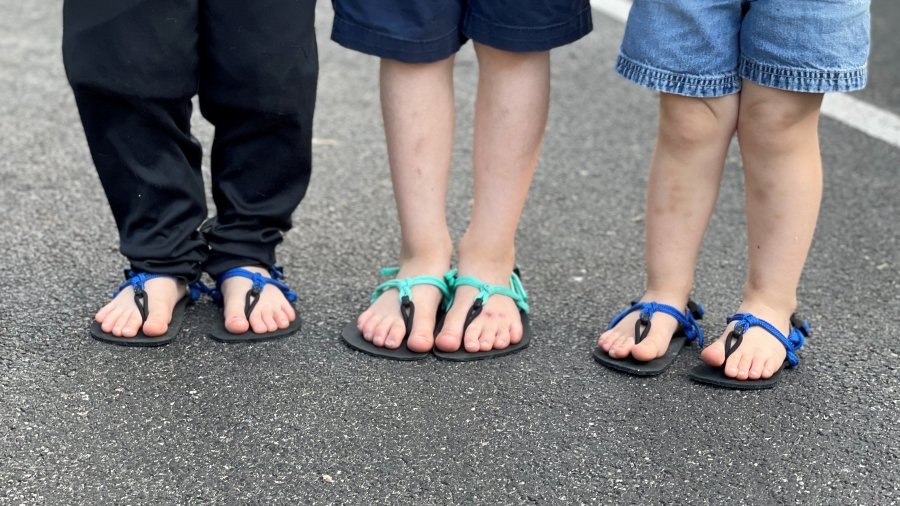
My youngest two kiddos are 5, and 3, and their feet are 5.5in and 6.5in in length. Because of their small feet I was able to purchase one Classic DIY kit in the large size for the both of them (with an extra set of laces on the side). Looking back I might have been able to get away with the medium kit because I did have a lot of rubber left over.
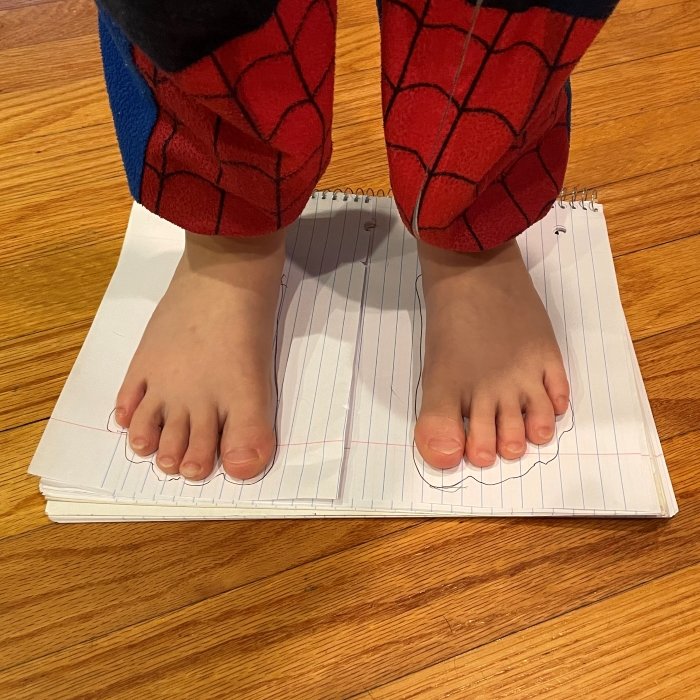
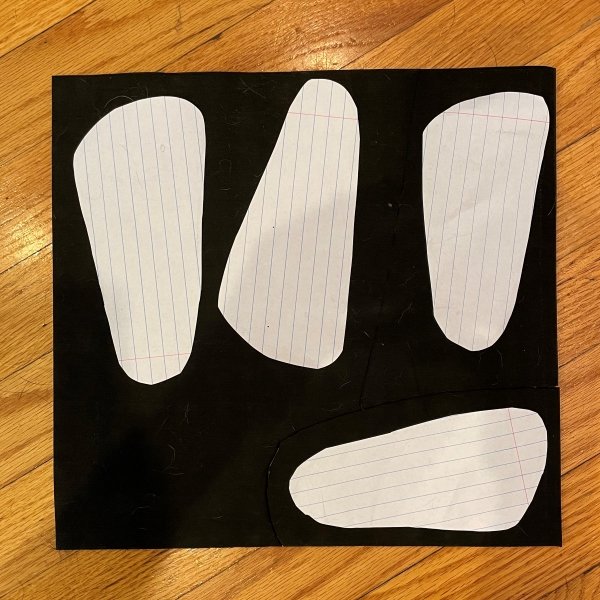
To cut their sandals I first traced their feet on paper. After tracing their feet I added about 2-3mm of extra space all around as I cut out their paper foot tracings. Then I laid the paper tracings on the rubber to make sure they would all fit and cut each one out at a time, leaving a small bump on either side of the sole where I planned to punch a hole for the strap. Once I cut the rubber for one sandal, I flipped it over and used it as the template for the other sandal (if you don’t flip it you will cut out two of the same foot!!).
The sandals ended up having the perfect amount of extra length for them to grow over the summer! But it’s better to err on the too big side – you can always trim the sole down more after they are made.
Getting the Right Fit
With DIY comes trial and error, right? I have had to spend some extra time getting these to fit my kids’ feet perfectly. A few things we encountered were the front of the shoes catching on the ground, the laces making indents on their feet, and the laces loosening as they walk (this is why I would choose Reflective instead of Regular laces next time). While frustrating in the moment, I’ve been able to fix each of these things with a little adjusting to make the sandals just right for all of them! I only recommend taking the sandals off completely to adjust, instead of pulling on the straps while they’re being worn.
Common DIY Issues
I did end up accidentally cutting one sandal a little shorter than I would have liked on my youngest child’s shoe. It was still long enough to get through the season, so I punched a new hole for the toe post to accommodate my mishap. The Vibram sole is so strong that having two holes close together has not caused any issues for her. I also put several indents into my floors during the hole punching process (whoopsies). Don’t be like me – punch the holes on cement!
One other thing I learned in this process: the toe post and heel strap add-ons seem unnecessary for kiddos and can even make it more complicated for them. The toe-post, for instance, has a circle on the bottom of the sandal that has proven to be too wide in between their little toes and slightly uncomfortable. They work better in adult sized sandals.
It is a bit of a time commitment, but if you really want the luxury of a custom sandal for the price of what feels like pennies- the DIY Kit from Xero Shoes is the way to go! Overall I think I clocked in about 2-3 hours over the course of two days for three kid sandals. Not bad for a custom sandal!
Xero DIY Strap Options
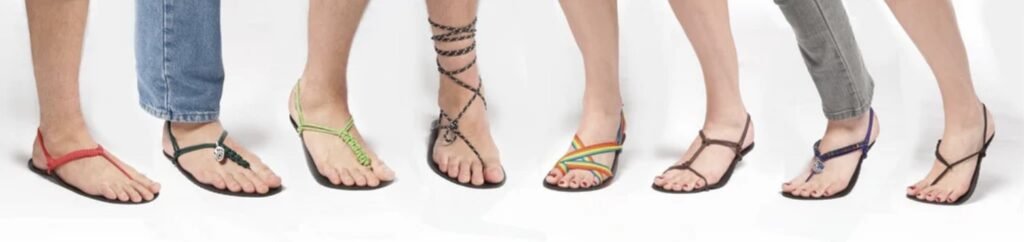
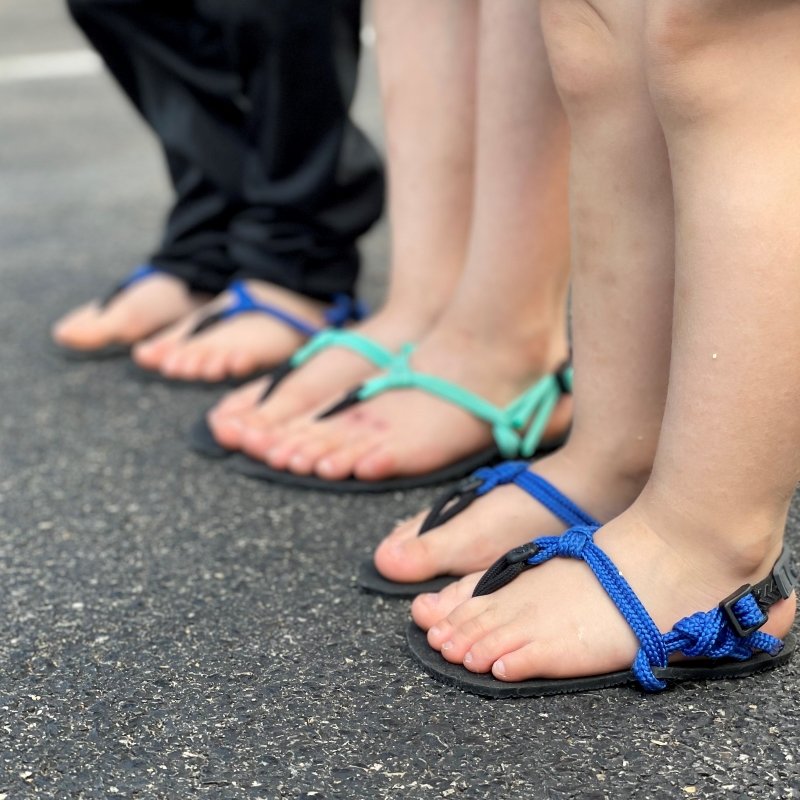
The strap possibilities are endless with this shoe! Xero shows several strap tying options here. You can copy a lacing pattern from another Xero model like I did for my kids, or get creative and make your own!
What Can Xero Sandals Be Used For?
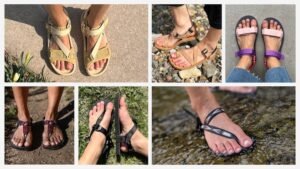
The Xero DIY Kits make barefoot sandals that are extremely minimal. My kids can feel the ground beneath their feet with every step and I love all of the health benefits that offers their bodies and brains!
Click here to read more about the benefits of barefoot shoes and why I wear them!
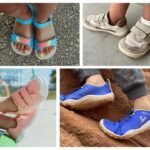
I would consider these Xero DIY barefoot sandals to be more foot protection than full on shoe, so if you are new to barefoot shoes it might be a lot for your feet (you can use the Barefoot Shoe Finder to find barefoot sandals with thicker soles than this!). But for us, they are perfect. My kids have used them literally every single day this summer for walks and light hiking, and they have been happy in them. I wouldn’t however recommend them for heavy hiking as they can catch on the ground pretty easily without notice (and possibly break).
Xero DIY Sandal Review Conclusion
The Xero Shoes DIY Kit gives ample customization options so you can get exactly what you’re looking for at a cheap price. They are an easy go-to sandal for us, lightweight, simple, and I definitely recommend them!


5 thoughts on “Xero Shoes DIY Sandal Review – Affordable and Easy to Make!”
I have the DIY sandal kit for my 1.5 year old. I find the hardest part is getting her to sit still long enough to get a good fit! It’s also hard to get a good lacing system down that is easy to slip on for her (and by for her, I mean for me or my husband because she still has trouble getting shoes on by herself). Additionally I have trouble getting the laces right so that her toes don’t hang over the edge of the sandal. I didn’t know about the toe post/heal strap add ons. However, reading your review I guess I am not missing anything! It would be nice to have a lacing tutorial that works best for children, especially toddlers! Maybe if I get it figured out I will post something.
Makes total sense! I never did strappy sandals with my little littles, it’s an ordeal! Let us know if you find any good tricks.
Hi, Mary! Yes, I could totally see that struggle. Our youngest is 3, so it wasn’t as big of an ordeal for us this year. I would look to sticking to barefoot or just the lil moccasins for littles in that tiny stage!
Hi, when making this sandals, do you just do a knot on the bottom when making a “toe-string”? And if yes, does this knot on the bottom of the sole thins down after some time?
Yes, you tie a knot and it tamps down with use. You can also squeeze it with pliers to flatten it. In other DIY sandals I’ve made I put a flame under the knot for a second to slightly melt the fibers together so it doesn’t come undone.